Group Models#
Here you will learn how to combine models together into a larger, more complete, model of a given system. This is a powerful and necessary capability when analysing objects in crowded environments. As telescopes achieve ever deeper photometry we have learned that all environments are crowded when projected onto the sky!
import astrophot as ap
import numpy as np
import torch
from astropy.io import fits
import matplotlib.pyplot as plt
from scipy.stats import iqr
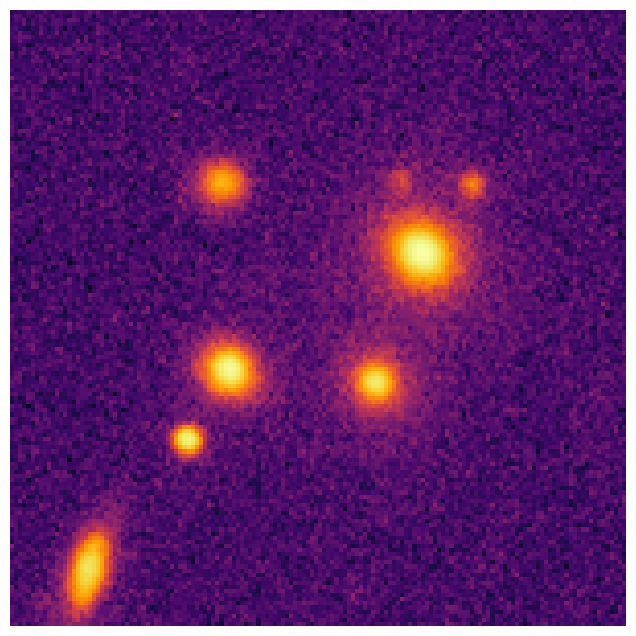
# first let's download an image to play with
hdu = fits.open(
    "https://www.legacysurvey.org/viewer/fits-cutout?ra=155.7720&dec=15.1494&size=150&layer=ls-dr9&pixscale=0.262&bands=r"
)
target_data = np.array(hdu[0].data, dtype=np.float64)

fig1, ax1 = plt.subplots(figsize=(8, 8))
plt.imshow(np.arctan(target_data / 0.05), origin="lower", cmap="inferno")
plt.axis("off")
plt.show()
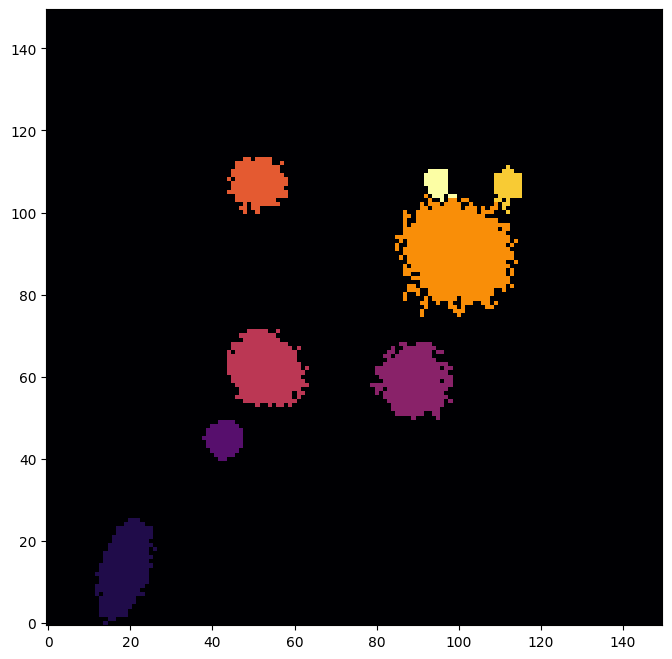
#########################################
# NOTE: photutils is not a dependency of AstroPhot, make sure you run: pip install photutils
# if you dont already have that package. Also note that you can use any segmentation map
# code, we just use photutils here because it is very easy.
#########################################
from photutils.segmentation import detect_sources, deblend_sources

initsegmap = detect_sources(target_data, threshold=0.02, npixels=5)
segmap = deblend_sources(target_data, initsegmap, npixels=5).data
fig8, ax8 = plt.subplots(figsize=(8, 8))
ax8.imshow(segmap, origin="lower", cmap="inferno")
plt.show()
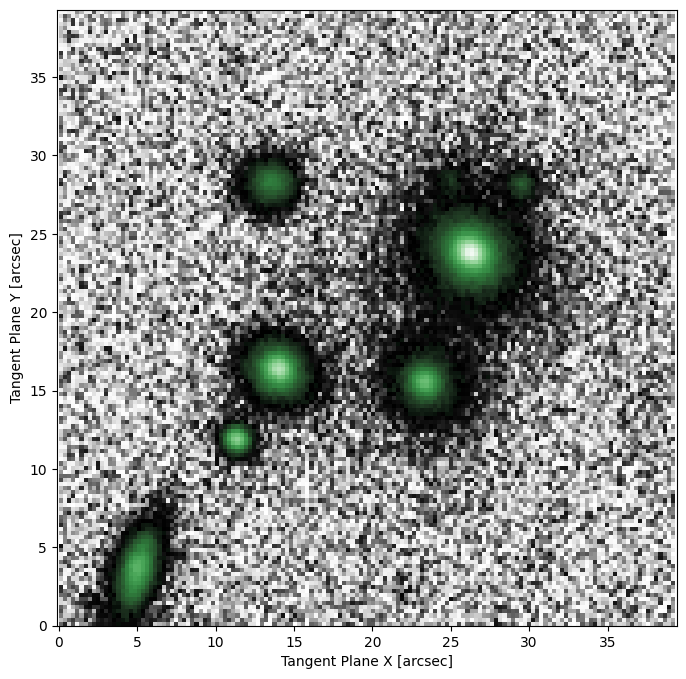
pixelscale = 0.262
target = ap.image.Target_Image(
    data=target_data,
    pixelscale=pixelscale,
    zeropoint=22.5,
    variance="auto",  # np.ones_like(target_data) * np.std(target_data[segmap == 0]) ** 2,
)
fig2, ax2 = plt.subplots(figsize=(8, 8))
ap.plots.target_image(fig2, ax2, target)
plt.show()
Group Model#
A group model takes a list of other AstroPhot_Model objects and tracks them such that they can be treated as a single larger model. When “initialize” is called on the group model, it simply calls “initialize” on all the individual models. The same is true for a number of other functions. For fitting, however, the group model will collect the parameters from all the models together and pass them along as one group to the optimizer. When saving a group model, all the model states will be collected together into one large file.
The main difference when constructing a group model is that you must first create all the sub models that will go in it. Once constructed, a group model behaves just like any other model, in fact they are all built from the same base class.
# This will convert the segmentation map into boxes that enclose the identified pixels
windows = ap.utils.initialize.windows_from_segmentation_map(segmap)
# Next we scale up the windows so that AstroPhot can fit the faint parts of each object as well
windows = ap.utils.initialize.scale_windows(
    windows, image_shape=target_data.shape, expand_scale=2, expand_border=10
)
# Here we get some basic starting parameters for the galaxies (center, position angle, axis ratio)
centers = ap.utils.initialize.centroids_from_segmentation_map(segmap, target_data)
PAs = ap.utils.initialize.PA_from_segmentation_map(segmap, target_data, centers)
qs = ap.utils.initialize.q_from_segmentation_map(segmap, target_data, centers, PAs)
# Now we use all the windows to add to the list of models
seg_models = []
for win in windows:
    seg_models.append(
        ap.models.AstroPhot_Model(
            name=f"object {win:02d}",
            window=windows[win],
            model_type="sersic galaxy model",
            target=target,
            parameters={
                "center": np.array(centers[win]) * pixelscale,
                "PA": PAs[win],
                "q": qs[win],
            },
        )
    )
sky = ap.models.AstroPhot_Model(
    name=f"sky level",
    model_type="flat sky model",
    target=target,
)

# We build the group model just like any other, except we pass a list of other models
groupmodel = ap.models.AstroPhot_Model(
    name="group", models=[sky] + seg_models, target=target, model_type="group model"
)

groupmodel.initialize()
Initializing:  sky level
Initializing:  object 01
Initializing: object 02
Initializing: object 03
Initializing: object 04
Initializing: object 05
Initializing: object 06
Initializing: object 07
Initializing: object 08
fig, ax = plt.subplots(1, 2, figsize=(18, 8))
ap.plots.target_image(fig, ax[0], groupmodel.target)
ap.plots.model_window(fig, ax[0], groupmodel)
ax[0].set_title("Sub model fitting windows")
ap.plots.model_image(fig, ax[1], groupmodel)
ax[1].set_title("auto initialized parameters")
plt.show()
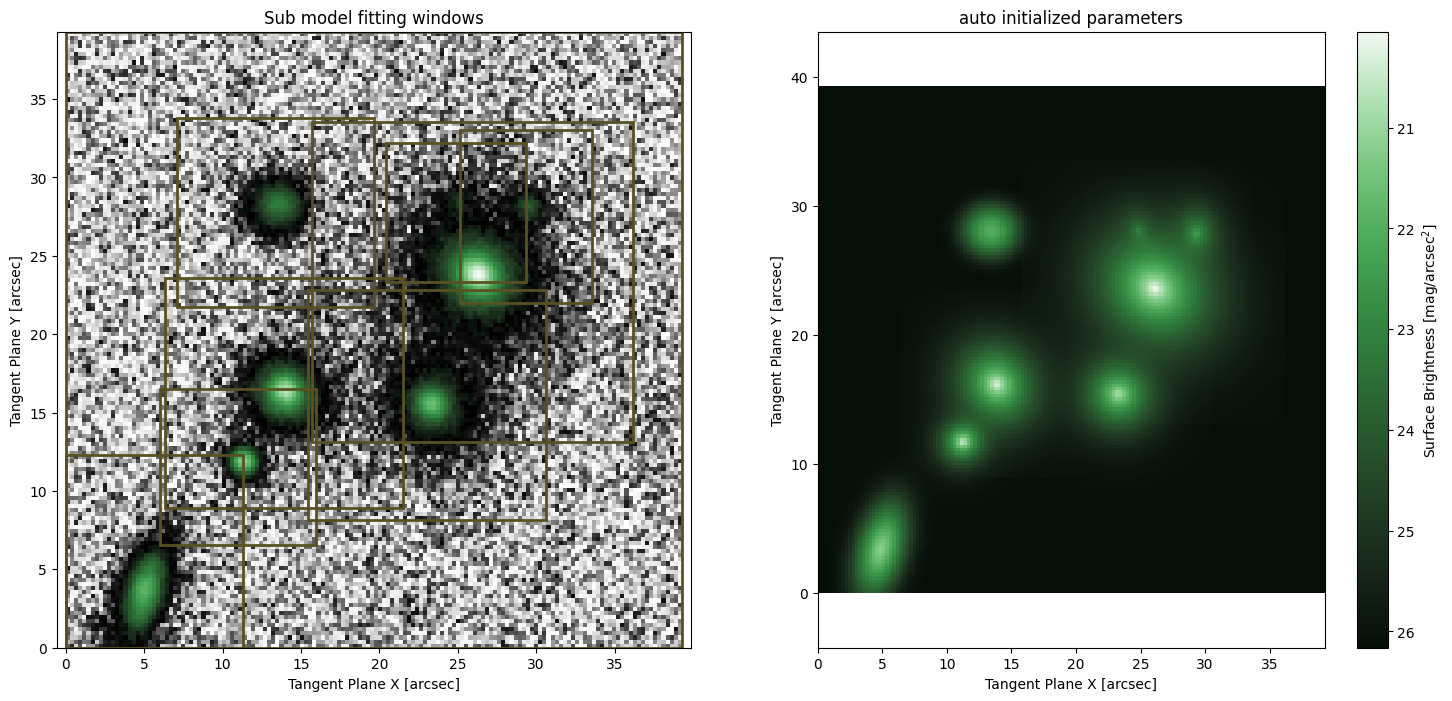
# This is now a very complex model composed of 9 sub-models! In total 57 parameters!
# Here we will limit it to 1 iteration so that it runs quickly. In general you should let it run to convergence
result = ap.fit.Iter(groupmodel, verbose=1, max_iter=1).fit()
Initializing:  sky level
Initializing:  object 01
Initializing:  object 02
Initializing:  object 03
Initializing:  object 04
Initializing:  object 05
Initializing:  object 06
Initializing:  object 07
Initializing:  object 08
--------iter-------
sky level
object 01
object 02
object 03
object 04
object 05
object 06
object 07
object 08
Update Chi^2 with new parameters
Loss: 1.6854914672215058
# Now we can see what the fitting has produced
fig10, ax10 = plt.subplots(1, 2, figsize=(16, 7))
ap.plots.model_image(fig10, ax10[0], groupmodel)
ap.plots.residual_image(fig10, ax10[1], groupmodel, normalize_residuals=True)
plt.show()
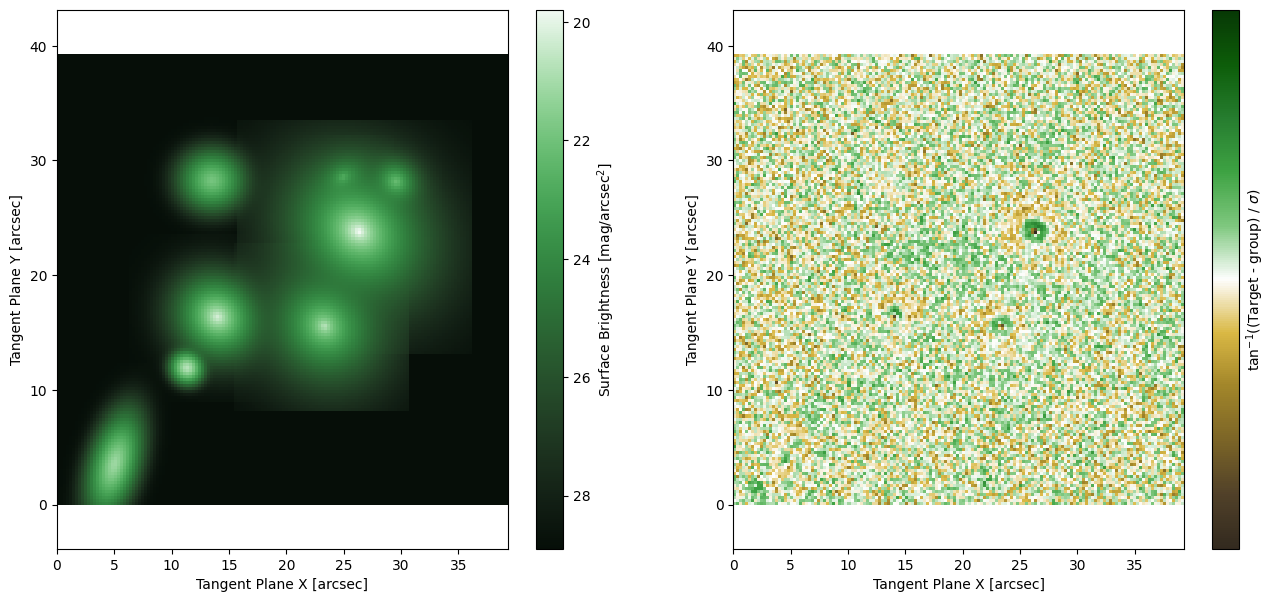
Which is a pretty good fit! We haven’t accounted for the PSF yet, so some of the central regions are not very well fit. It is very easy to add a PSF model to AstroPhot for fitting. Check out the Basic PSF Models tutorial for more information.